For starters, I have had computer and internet troubles, so it just wasn't worth trying to get on.
Good things are happening though.....just take a look!!
That solved my computer problem and thus enabled me to get on the internet easier.
Then my son and his family moved out and that solved the internet problem....too many fish in the pond.
After they moved out the very next day I moved into my old sewing room, decided that having more plugs would be beneficial.
Took me two days to move in and I still have a few things to put up and move around but for the most part I am in....whohooooooo
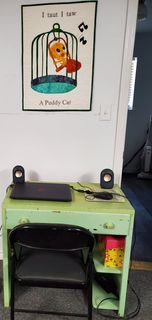
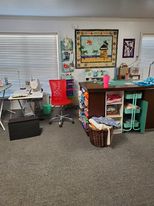
Let's take a look (my disclaimer) I have a bunch of hodge podge stuff but for me it works in a wonderful way. Maybe I will eventually repaint a few things. The old desk was in this house when we moved in but great for my computer.
Here goes....
We have a storage room where that door is. The desk and computer are on the other side of the door.
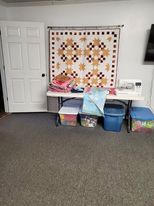
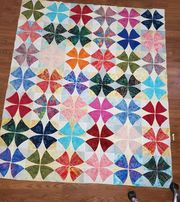
I decided to put a long table in to hold my projects that need binding. As you can see, I am already making a mess of the room....haha....doesn't take long.

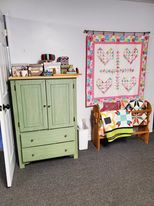
My Jazz is on this table. I really need some closets to hide most of my stuff but hey, I am grateful for what I have.
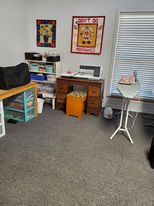
Embroidery Machine, I know you are all going duhhhhhh
I didn't take a picture along the wall because I have a ton of stuff I am giving to a friend for her garage sale.
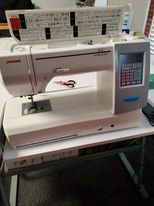
The most amazing thing is this next picture.
 Yesterday I am in my sewing room with my back to the door..... I just don't like not seeing when someone is coming in. I hear my husband come in and say, "You deserve it".......I thought what???
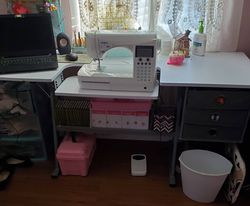
I turned around, looked and by my leg (note: I did not notice this when I came in the room nor when I was standing there by the table), by my leg was two big boxes....I asked, what is this. I was in total shock when I saw the Janome on the side of the box. My husband said he had done his research and thought this would be a wonderful machine for me. Oh boy is it ever..... I sewed all last night. Is he a keeper or what?????
Soooooooo I AM BACK!!!!
On a side note, my sister Jeanette, at Inchworm Fabrics is having a giveaway this month. I have not gone by to check it out but I will.