Tuesday, October 14, 2014

OUT WITH THE OLD, IN WITH THE NEW!!!!

OUT with the OLD


IN with the NEW


 When you are in a pinch, out of fusible.....grab your Lapel stick and swipe away.

 Or if you want to save your fusible.....!!!  Just saying...


 Worked perfectly!!


I guess I am in a festive mood today...just cool enough to strike those Christmas juices.
                                                         
                                                   If you want to enter the giveaway, enter here

My Lapel Sticks came in yesterday and if you order BEFORE October 20th this is what you will get plus four more.


Impressive!!!  Go here for the promotion of 40 sticks for 50 dollars, no shipping cost for the US.

Some of you said, I would love some but I don't want forty.

 Maybe you can split it withe a few friends?

Maybe you can give some away as Christmas gifts?

  Wouldn't a quilter, seamstress,  fashionista, or crafter love some of these sticks????  I know I would!


Besides making Christmas towels I am working on a scrap quilt I started a while back.  Hopefully, I will have something to show to you soon.


Saturday, October 11, 2014

MY APOLOGIES - LAPEL STICKS

I know I said that I would have another post on how I use the Lapel Sticks but....as most of us know

LIFE HAPPENS

Sometimes it happens in the most odd ways.


Nothing bad

I just had a birthday....and I thought that nothing major was going to happen that day...

but

I had visitors, several (like five) phone calls, running around with my husband and low...
the night falls and it is bedtime and as I am laying my head down I think

Where did the time go?

So...the next day I think I will get to it but I had two cousins come over to sew and we celebrated my B day as well...PARTAAAA

Oh my gosh...another day gone and no post.

Today comes.....and still I am partying....can you believe it?

I can't!!!!

So...the giveaway post is below and the link to where you can buy your 40 sticks is on my side bar

my apologies.....


Tuesday, October 7, 2014

INQUIRING MINDS WANT TO KNOW WHAT A LAPEL STICK HAS TO DO WITH BINDING A QUILT! (giveaway)

I have had a few people ask me what I use my Lapel Sticks on.  So I am going to show you.

Come with me while I bind my quilt.

Here I am getting my binding ready....no lapel stick needed yet.


Now...don't look at my ironing board cover, I actually think it is time for a new one.


 Folding my strips in half with steam


No Lapel Stick needed yet...but I promise, I will be getting to it soon.

Sewing the binding on one side.

 Here is my trusty binding tool that I got at Missouri Star Quilt Co., they even have a tutorial on how to use this tool...but we are talking about Lapel sticks today...so let's get to it.

 After I sew most of the binding on one side I need to join the two ends together....

How you ask?

Get my amazing Lapel Stick.


See where I have put the Lapel Stick on the edge of this fabric.  It is great.


Here it is glued together.  All it took was a line of glue, finger press the two pieces together and there you have it.  No pins to mess with.  Trust me, using pins is a pain when you are trying to do this.

 Sew it together...and WAAAAALAAA    Then to finish sewing it to the quilt.  But we are not done with the Lapel Stick yet so keep it out.

 Remember to turn off your steam on your iron (steam is not good on the fingers).

See how I put the Lapel stick on the binding part....So I apply the stick, iron, apply the stick, iron.  This is such a great way to get your binding on so nicely.

I flipped the binding towards the backside. (I think my mother does it opposite of what I do..but hey...she loves it her way and I love it mine).

 Then I flip the quilt over and sew in the ditch, it catches the binding on the other side right nicely...no pins or clips needed.


Now for the fun part.  

I know that some of you have asked..."Where do I get these Lapel Sticks?"

Keith who created the Lapel Stick is offering

40 Sticks for 50 dollars, shipping is included in this!!

That is such a deal.

Display Box


This offer is good until October 20th!!!

Tomorrow I will show you some other ways I use these Lapel Sticks.

I would love to give one away to a few readers, just comment below and we will see what we can do...(I am talking like there is a mouse in my pocket...hummmm)

Monday, October 6, 2014

WRAPPED UP IN LOVE - FAMILY ROUND ROBINS, FAMILY BLOCKS!!

Some of you asked how our family blocks worked, I will give you as much info as my memory will allow.


This first one is the first one we did as a family.  My mother, myself, and three sisters.  I believe we did this one in 2005

We each chose a middle, as you can see, mine is a basket.
Jeanette sent out a list of how we were to send our middles around and the instructions on how the rounds were suppose to go (either by size or style, see my memory is gone).  This was so fun trying to figure out each round with the instructions and the unfinished quilt going around.  My mother had a huge star in her middle.  I think my sister Beverly had hearts...the rest is blank.


This one was where we each made two blocks.  I bet you can't tell which one was mine.  I can't remember who all joined us but I know a few nieces joined us at this time.  I believe the blocks were 12 1/2 inches and if I am thinking correctly we sent the fabric we wanted???  I think in the future I need to label the blocks so I know who did what.


This one was where we sent around a grid (I still have the grid somewhere) and each person made a block or two  and just pinned their block to the grid, that is why you get several sizes.  I sent fabric around with mine and that was an option.  I still need to finish this one.  This one was done the year I went to Samoa.  You were not allowed to unpin someone else's pin...only the original owner could do that. I believe that my sister Jeanette, myself and three niece's did this one.

We took about a six year break


My sister Jeanette and I were the ones who started this.  This year I started it up again with much support from my sister Jeanette and my niece Beverly.

Here are some of the blocks for this years Family Blocks of the month.  I forgot to take pictures of some of them (slapping my hand as we speak)

So this is how we did this one.  We had eleven people want to do this, one sister was too busy.
We put everyone's name in a basket.  Each month we would chose a name (my mother usually was the picker) and that month the person's who's name was picked chose a block and everyone in the family did that block in the colors the person wanted.  By the end of the month we were to have it sent to that person, then the next month we would chose another.  Since we have eleven people we needed one more block and so we each just made two of ours or a niece (Jennifer) would make two.


Next year my niece Beverly will be deciding on what we do and maybe by then we will have even more join us.  I know my son is about to be married and his wife quilts, she will be joining us.

I have to say that these quilts are my most prized possessions.  These quilts I will not give away except to a family member, when I use one I truly am wrapped up in love!!


Saturday, October 4, 2014

ZAPPY SCRAPPY STRIPY KIND OF DAY!

I showed you these strips that Island Batik sent to me and was trying to decide what to do with them.

Well...


What I didn't realize is that some of the strips were folded...which made 3 1/2" strips....changed the whole playing field.


Made a rail fence.  The outer purple border is from the fabric line "Strawberry Fields Forever"....just love this name Island Batik picked out for this line.

As I was sewing these strips together...I just kept saying to myself  "I just love Island Batiks...I just love Island Batiks"...as I was cutting them.


The last of the family blocks...    You can find this basket pattern here called"Basket of Chips"


You can find this pattern here  called "Love in a Mist"

I used my scraps from Island Batik for this block from the line of "Raindrops"...gosh I sure love the names they pick out for their fabric lines.  The white background is just some random scraps.

Since there were just two names left in our family we decided to just do the two blocks in one month....so I am done for the year....  Next year my niece will be in charge of what directions we go in this Family block of the month.


Friday, October 3, 2014

A TIME TO PAUSE AND SAY HUMMMMMMMMMM

My son is visiting before he heads to Ft. Bragg and who know where ever else he will be sent to but he came in and asked me about my flower beds.  I had to pause and go Hummmmmmmmm...

He asked me what plants I wanted....once again Hummmmmmmmmmm

He asked if he could do what ever he wanted to the gardens and I told him he could do whatever since I haven't been doing much with them.  They are a source of frustrations to me.

This is what he came up with.....he took out the rotten lumber, bricks...etc.  I have since been out there and dug the bulbs up and cleaned it out to just dirt...it looks great.  Now what to put in them.

Hummmmmmmmmmmm


Finished the first of the two quilts.  Can I just say how much I love this?  


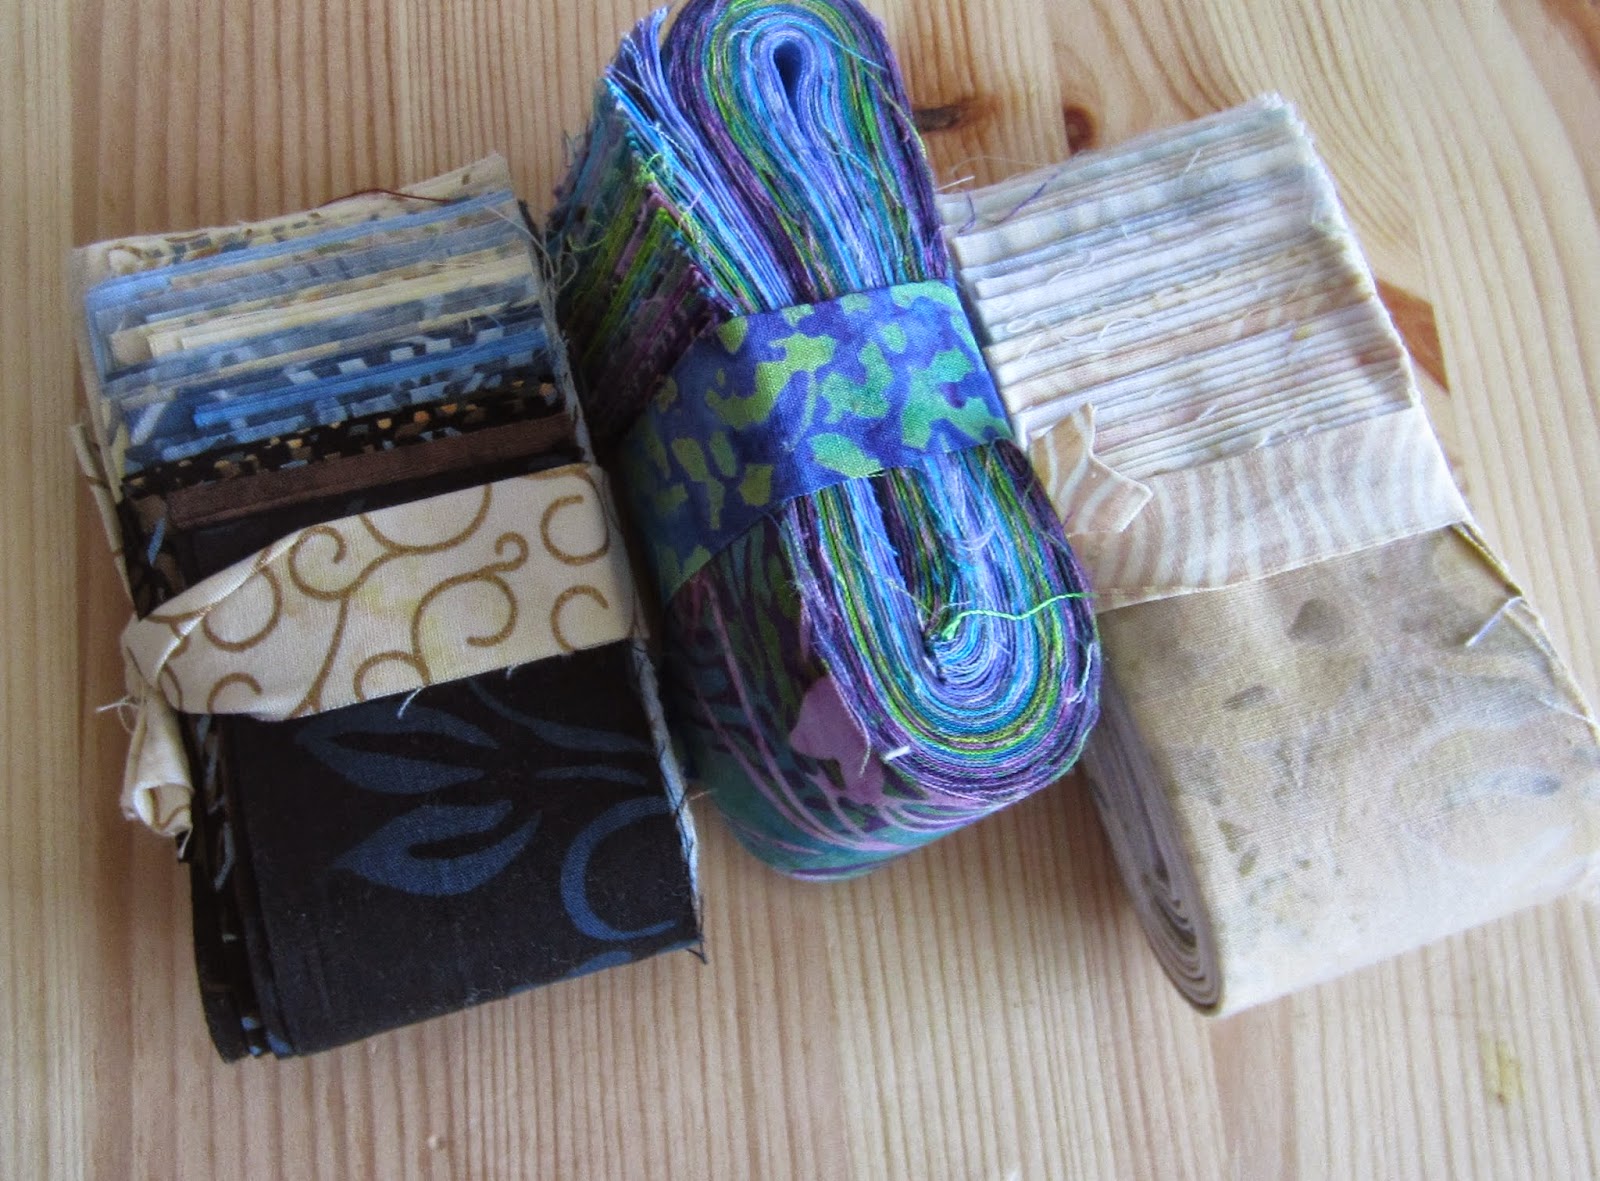
Now a time to pause and go HUMMMMMMMMMMMMMMM  ....  Island Batik sent me these 2 1/2 inch strips and I am going Hummmmmmmm

 what can I make with these....stay tuned!!!


Sunday, September 28, 2014

OOOPSSSSSSSSSSSSSSSSS...SOMEONE DID NOT PAY ENOUGH ATTENTION IN MATH CLASS

NOT ONE!!!


But TWO  (this one is not ironed)


I say, I say, OOOOOOOOOOOPSSSS!!

Have any of you ever done this?  I even drew it out on paper...went looking for my crude  drawing but couldn't find it.

As you can see, these are only half square triangles.  EASY!!!!

You can use one charm pack of white for this and then depending on what you want your dominate colors but for the sake of a picture.  In this picture the dominate color is gray...so you will need 24 five inch squares and 16 yellow.  
Mark a diagonal line across the back of each white and then just sew 1/4 from the line on each side of it and then cut down the line.  Giving you two blocks...yep this is where I messed up....I counted the squares I needed and then skipped over the fact that when you place the two squares together and sew and cut you have two squares instead of one..thus giving me double the blocks.  Am I making sense or just driving you batty?

This makes a 34" x 42" baby quilt and if you want to make it larger, just add borders.  I think I am going to pass on the borders.  I have a cute backing I want to make and will show that to you when I am done.


This is the family block this month....no dimensions....I was so afraid to do this one but once I got going it took no time at all.