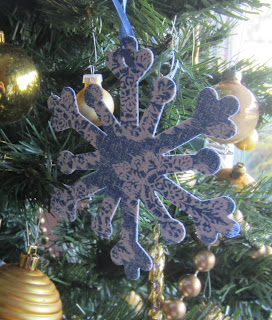
Snowflake ornament
MATERIALS NEEDED:
- Accuquilt Go Die #55043 Holiday Medley
- Heat N Bond Ultra firm
- Assorted Christmas fabrics 5" squares
- 5" square of card stock paper ( I used the end of the roll in my Christmas wrapping paper..it is no longer a tube, it is just heavy paper in a roll which works out great for projects)
- Ribbon
- Hole punch
INSTRUCTIONS:
- As you see here, this is just a scrap of fabric that is about the size needed but you will need either a 10" x 5" strip or two 5" squares of fabric the same for your heat n bond.
- Iron your heat n bond ultra firm onto the back of your fabrics as shown here
- Then place your 5" square of card stock in between the squares. This card stock gives it the strength you need to have a nice firm ornament not a flymsy one.
- fold over and iron
- Take to your trusty Accuquilt Go Cutter and cut out the shape you desire because you can even do the Christmas Tree.
- Use a hole punch to punch in a hole for the ribbon.


4 comments:
Beautiful snowflake. Great tutorial. Definitely a fun item to make to decorate your home, or for a gift. Perfect for enjoyment of #NightsBeforeChristmas, as well as #CreativeGoodness.
QuiltShopGal
www.quiltshopgal.com
Really like the snowflake I need to use the cutter more often. Have a blessed Christmas and I am sure you will enjoy that grandbaby!Hugs, Marie
They really look great Barb!
Lovely ornies these make !Was just thinking today of cutting out some more wool ones for the trees or garland. Want to add some of the fine glass glitter to them. oh for more time! I am sewing late this year! YIKES!!!
Post a Comment