Three friends came over today and we did these Christmas balls. We had had it planned for sometime now but since I was trying to figure out things for my young women to do we just got together sooner. I do know that some of you have sent me a link to these balls, just so you know there is one out there. I am too lazy to go and look for it (no need pretending, it is what it is)....
So here is how we did ours. I had to redo my ball....I thought maybe I should just stick to sewing but I hung in there.

You need
styro foam ball
applique pins 3/4 inch
fabric cut in 2 1/2 inch squares (a Go cutter would come in handy for this)
ribbon and glue.

You fold in half. I ironed mine. I didn't the first one and well, if you iron it seems you have more control over your fabric. The gal who was teaching did not iron and hers turned out beautifully.

fold in half again

open up and then fold both sides to the middle

open up, find the middle.

If you want to hide you pin, you put the pin on the inside at the center point. If not, just pin on the outside.

You have to find your center point on both sides. She just put a regular pin on both sides and tried to eyeball the center. I did that at first and was
sooooo off (one reason I had to start over). So when everyone left. I got out my measuring tape and found the
circumference and went from there....worked out
a lot better. So now that you have found the middle, you place the pinned fabric there. Now the gal that was showing us glued hers down.

This is what it looks like with all triangles in the middle. I placed pins at the bottom of the triangle just to keep the bottom of the triangle under control. Now when you go to put on your second row, you will take out the bottom pins because the next row will be overlapping and then just pin down the next rows bottom....easy...

You do the top and then the bottom, then add the second row, top, bottom, then last row. Oh...I almost forgot, I measured from the center to the tip of the next triangle on each one. The first ball, she said to just eyeball it...I did but for some reason it just looked bad bad bad. So measure I did, I am not ashamed....

Here is all three rows done.

This is what it looks like when it meets...yes...a mess but at least they meet.

Here it is all cleaned up with a ribbon around it.

How about some rick rack?
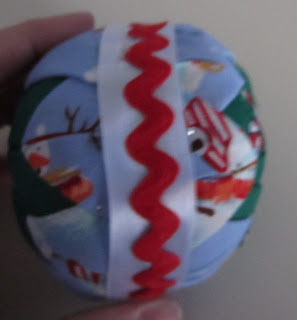
There you have it....


 Well....I have company, my niece and her kids are her and guess who is making them chocolate chip cookies. Her one son said that I cooked as good as his grandmother....I don't think so but I think I grew a little taller.


